First of all I would like to give full awknowledgment to the designer of the flag Daniel Quasar. Sorry it has never occurred to me to make a pride pattern earlier. Please tat this pattern with lots of lacey love.
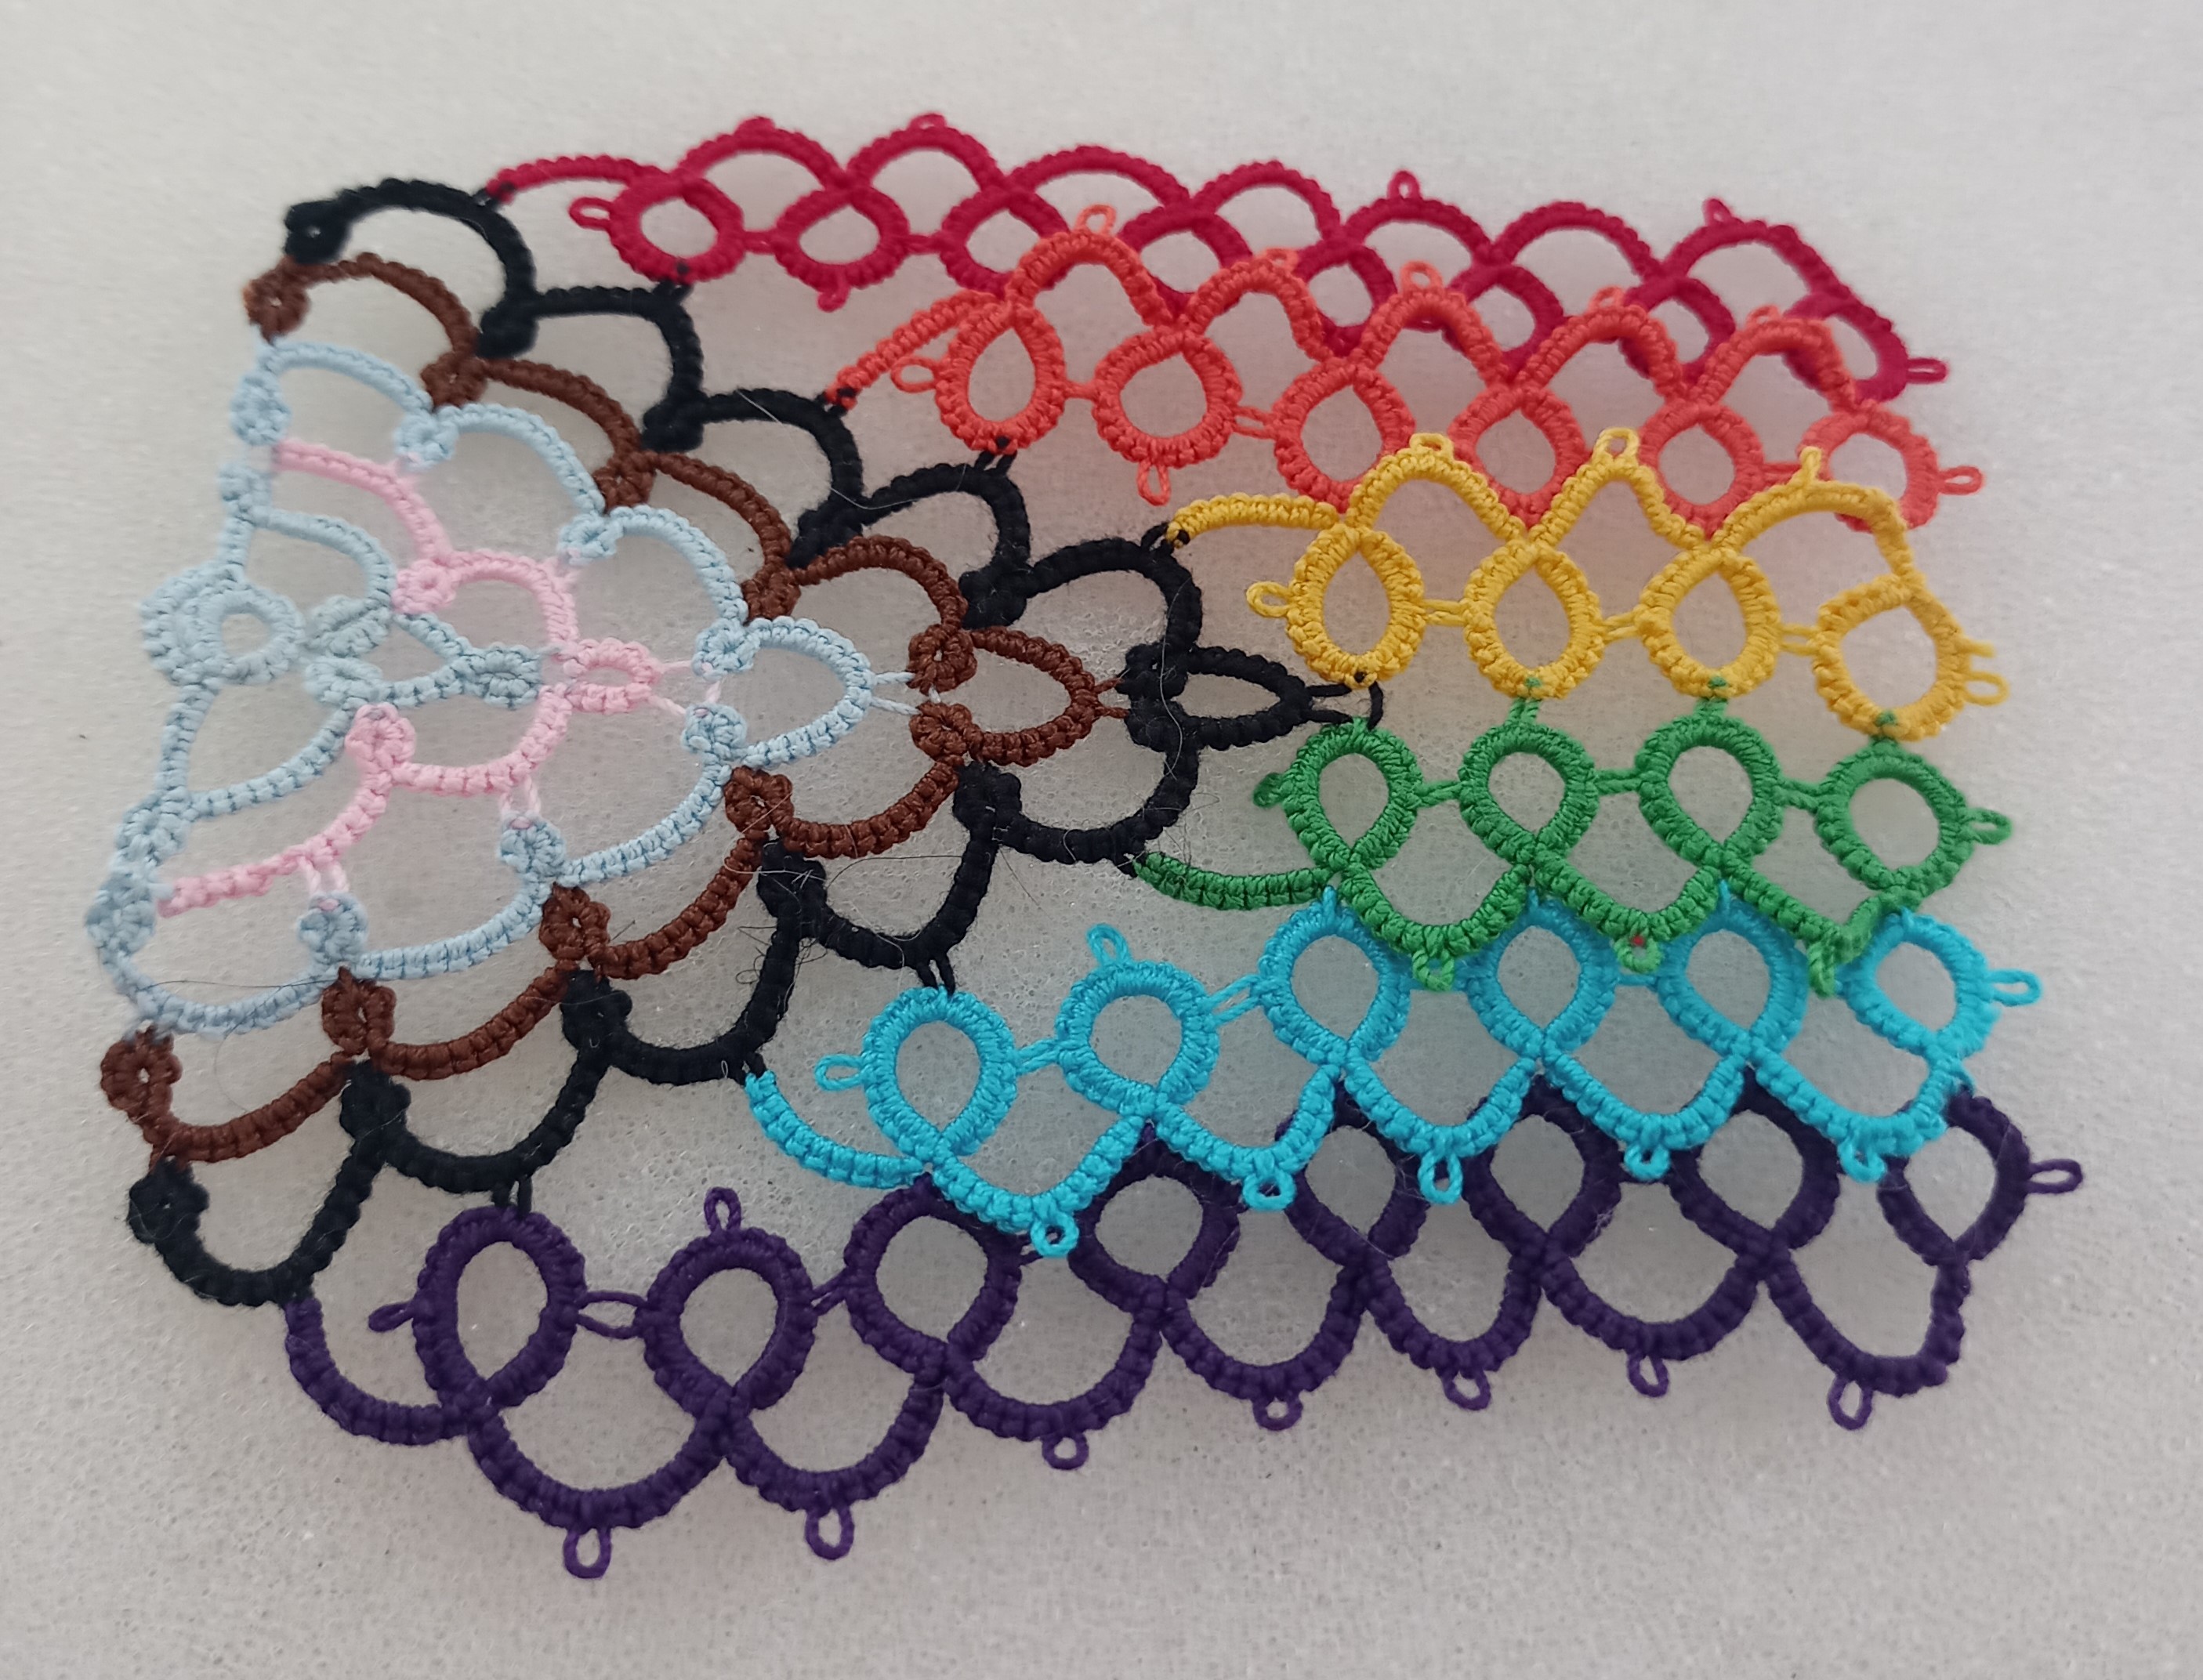
Please excuse that the colors in the sample are not perfect. These were the ones I had on hand.
Materials
Needle or shuttle
Thread in the colors of the flag: white, pink, light blue,
brown, black, red, orange, yellow, green, blue, purple
Terms
R ring
C chain
SCMR- self closing mock ring
p picot
lj- lock join
vsp- very small picot
Round 1
Wind 2 yards of white thread on shuttle, needle tatters
normal tail
R 8
vsp 4 vsp 4
C 6
SCMR 3 p 3
C 10
R 4
+ (2nd vsp on 1st Ring)
4
C 4
SCMR 3 p 3
C 4
R 4
+ (2nd vsp on 1st Ring)
4
C 10
SCMR 3 p 3
C 6
lj (1st p on vsp) 8 join to beginning.
Round 2
Change to pink thread.
Shuttle tatters add 1.5 yards to shuttle
C lj
(p on 1st SCMR) 5 p 5
R 3
+ (above 2nd R on round 1) 3
C 5
p 5 lj (p on 2nd SCMR) 4 p 4 lj (same as previous) 5 p 5
R 3
+( above 3rd R on round 1) 3
C 5
p 5 join to p on 3rd SCMR, hide ends
Round 3
Change to light blue thread.
Shuttle tatters 3 yards on shuttle
R 3
+ (p on 1st SCMR on Round 1)
3
C 2
vsp 8
R 3
+(p on 1st chain on previous round) 3
C 10
R 3
+(next p) 3
C 10
R 3
+(next p) 3
C 7
p 7
R 3
+(same p) 3
C 10
R 3
+(next p) 3
C 10
R 3
+(next p) 3
C 8
- 2
R 3
+ (p on 3rd SCMR on Round 1)
3 hide ends
Round 4
R 3
+(p on C) 3
C 2
p 8
R 3
+(above 2nd R) 3
C 10
R 3 +(above next R) 3
C 10
R 3
+(above next R) 3
C 10
R 3
+(p on C) 3
C 7
p 7
R 3
+(same p)
C 10
R 3
+(above next R) 3
C 10
R 3
+(above next R) 3
C 10
R 3
+(above next R) 3
C 8 p
2
R 3
+(p on C)
Round 5
R 3
+(p on C)
C 6
p 6
R 3
+(above next R) 3
C 6
p 6
R 3
+(above next R) 3
C 6
p 6
R 3
+(above next R) 3
C 6
p 6
R 3
+(above next R) 3
C 6
p 6
R 3
+(p on C)
C 6
p 6
R 3 +(same
p) 3
C 6
p 6
R 3
+(above next R) 3
C 6
p 6
R 3
+(above next R) 3
C 6
p 6
R 3
+(above next R) 3
C 6
p 6
R 3
+(above next R) 3
C 6
p 6
R 3
+(p on C) 3
Stripes
You will start at the middle stripes and then tat rows
outward. Then you will go back and tat
the middle strip on the other side and tat outwards. The
flag does narrow a bit and if this bothers you then you can leave a bigger
space between the chains (this is where you join above the rings)
Stripe 1
C lj
(2nd p from tip of Round 5) 8
R 6
p 6 +(p on tip of Round 5) 6 p 6
C 6
p 6
R 6
+ 6 p 6 p 6
C 6
p 6
R 6
+ 6 p 6 p 6
C 6
p 6 vsp 1
R 6
+(p on previous R) 6 p 6 p 6 hide ends
Stripe 2
C lj
(4th p from tip of Round 5) 8
R 6
p 6 +(3rd p from tip of Round 5)
6 p 6
C 6
p 6
R 6
+(last p on previous R) 6 p 6 p 6
C 6
p 6
R 6
+(last p on prev R) 6 + (above 1st
R of previous stripe) 6 p 6
C 6
p 6
R 6
+(last p on prev R) 6 + (above next R of
previous stripe) 6 p 6
C 6
p 6
R 6
+(last p on prev R) 6 + (above next R of
previous stripe) 6 p 6
C 6
p 6 vsp 1
R 6
+(last p on prev R) 6 + (vsp of previous
stripe) 6 p 6
Stripe 3
C lj
(6th p from tip of Round 5) 8
R 6
p 6 +( 5th p from tip of Round 5)
6 p 6
C 6
p 6
R 6
+(last p on prev R) 6 p 6 p 6
C 6
p 6
R 6
+(last p on prev R) 6 + (above 1st R of
previous stripe) 6 p 6
C 6
p 6
R 6
+(last p on prev R) 6 + (above next R of
previous stripe) 6 p 6
C 6
p 6
R 6
+(last p on prev R) 6 + (above next R of
previous stripe) 6 p 6
C 6
p 6
R 6
+(last p on prev R) 6 + (above next R of
previous stripe) 6 p 6
C 6
p 6
R 6
+(last p on prev R) 6 + (above next R of
previous stripe) 6 p 6
C 6
p 6
R 6
+(last p on prev R) 6 + (vsp of previous
stripe) 6 p 6
It's a very pretty flag! Thank you for posting the pattern.
ReplyDelete